CosyVoice Installation
CosyVoice (a codec-based synthesizer for voice generation) consists of an LLM for text-to-token generation and a conditional flow matching model for token-to-speech synthesis. It is a multilingual large voice generation model that provides inference, training, and deployment full-stack capabilities.

- Clone the repository
git clone --recursive https://github.com/FunAudioLLM/CosyVoice.git - Install Conda
Download Conda from Miniconda and install it.
- Create Conda env
conda create -n cosyvoice python=3.8 conda activate cosyvoice - Install pynini
conda install -y -c conda-forge pynini==2.1.5 - Install third party dependencies
pip install -r requirements.txt - Install Git LFS
Download from Git LFS and install it.
- Initialize Git LFS
git lfs install - Download models
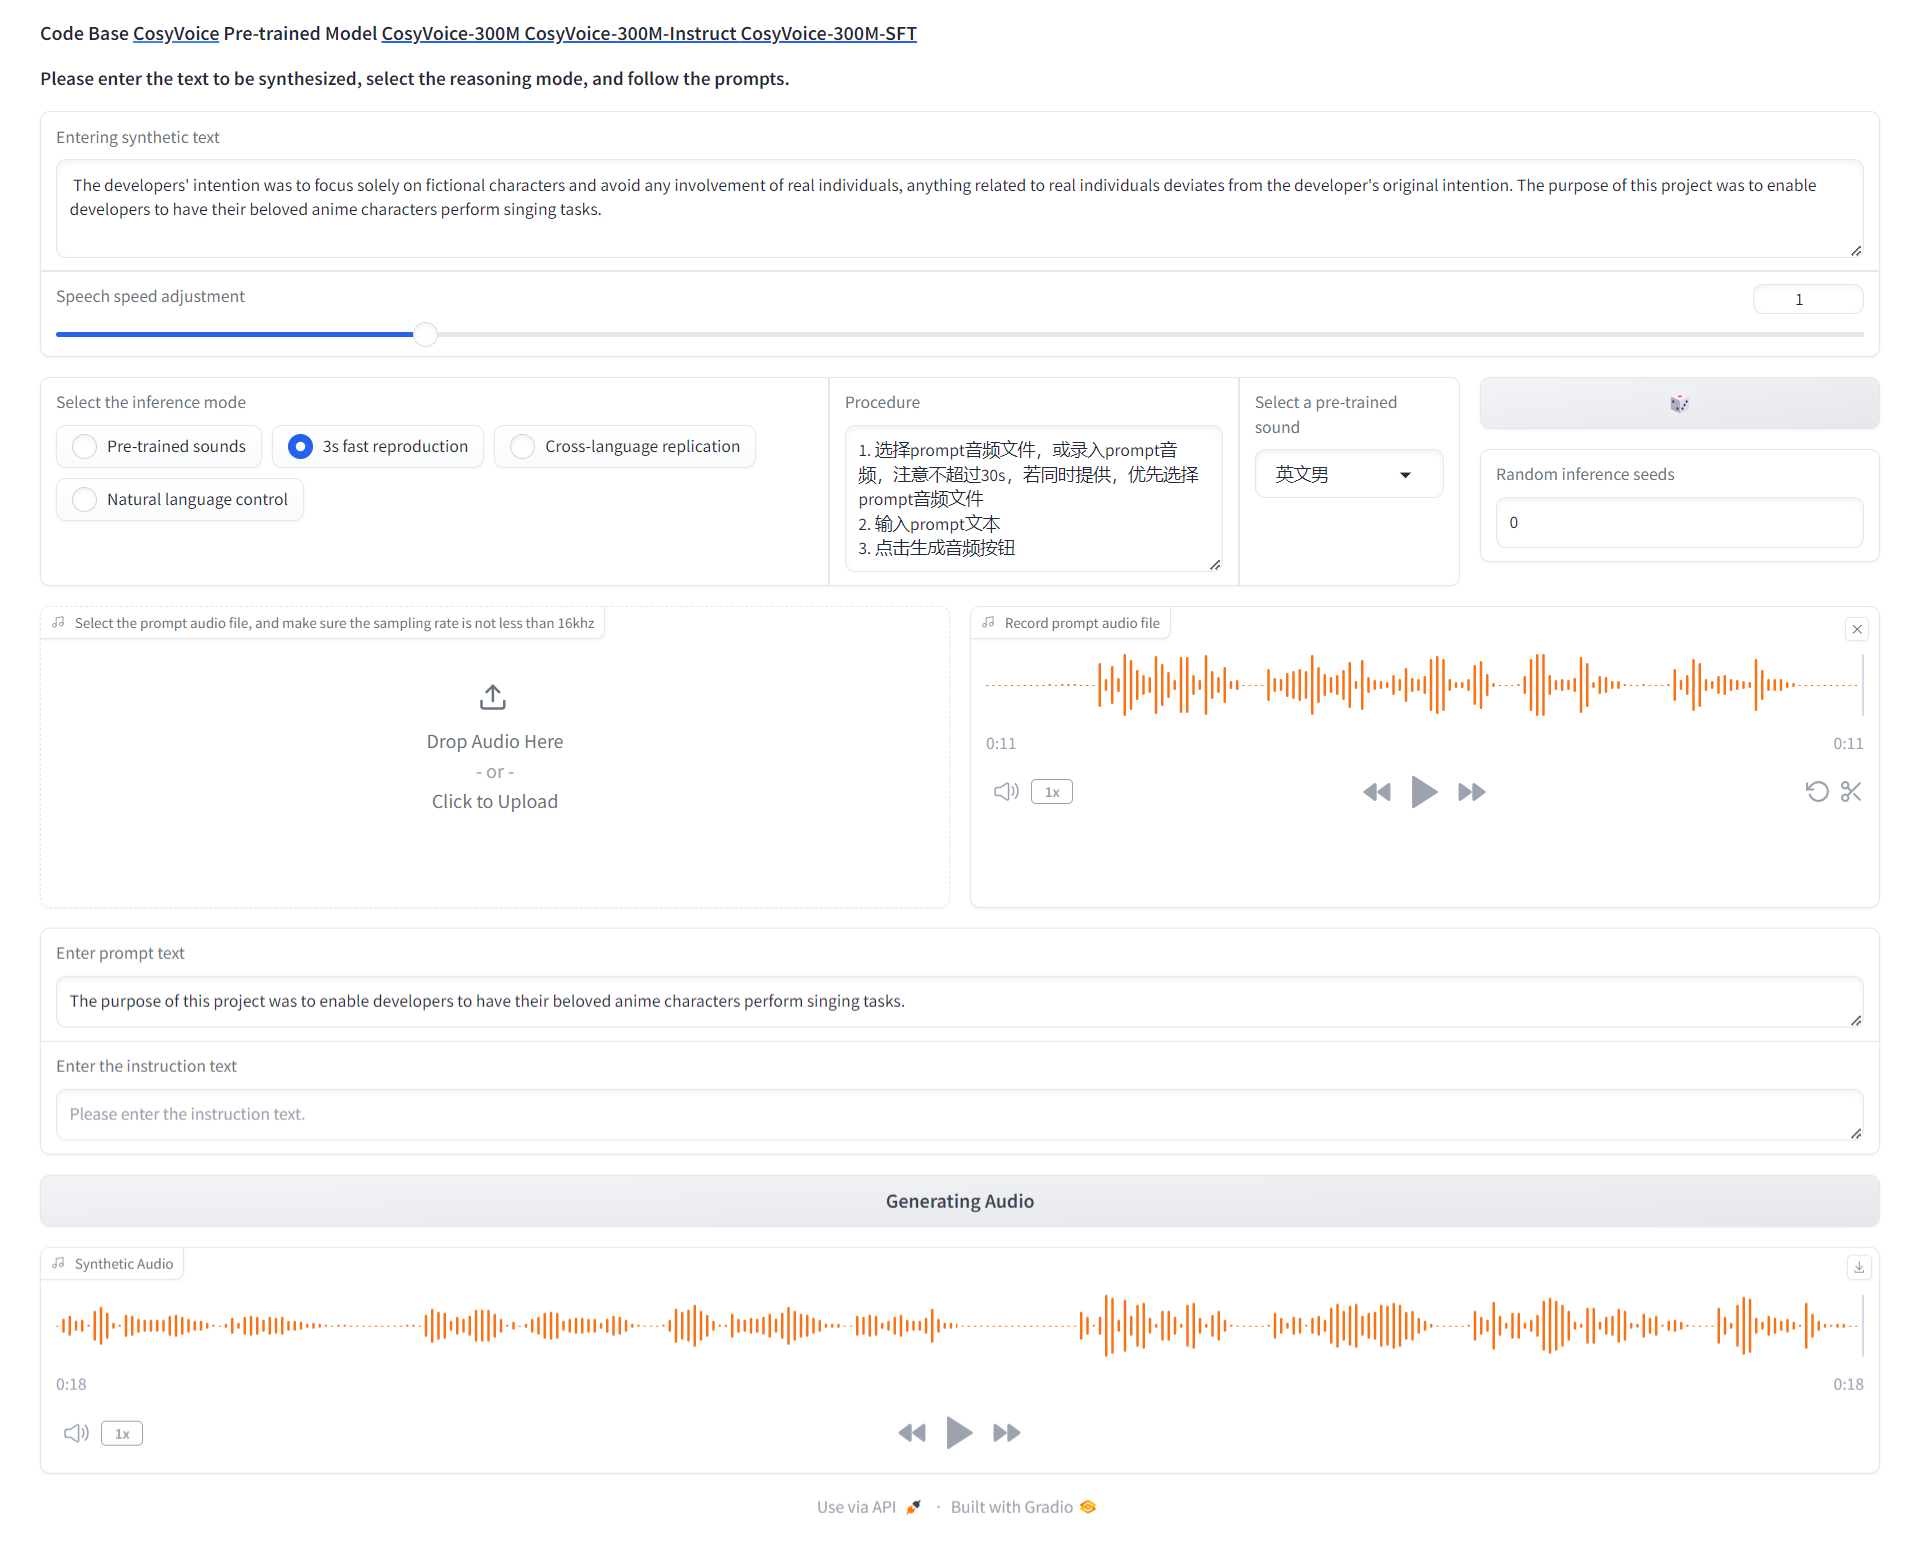
mkdir -p pretrained_models git clone https://www.modelscope.cn/iic/CosyVoice-300M.git pretrained_models/CosyVoice-300M git clone https://www.modelscope.cn/iic/CosyVoice-300M-SFT.git pretrained_models/CosyVoice-300M-SFT git clone https://www.modelscope.cn/iic/CosyVoice-300M-Instruct.git pretrained_models/CosyVoice-300M-Instruct git clone https://www.modelscope.cn/iic/CosyVoice-ttsfrd.git pretrained_models/CosyVoice-ttsfrd - Run the web demo
You can use different models with the corresponding folder. CosyVoice-300M-SFT is for sft inference, and CosyVoice-300M-Instruct is for instruct inference.
python3 webui.py --port 50000 --model_dir pretrained_models/CosyVoice-300M
Notes:
If the demo cannot be started, you can check if onnxruntime is installed correctly. You can change it to the correct option in requirements.txt if need.
For example:
Change these lines
onnxruntime-gpu==1.16.0; sys_platform == 'linux'
onnxruntime==1.16.0; sys_platform == 'darwin' or sys_platform == 'windows'
to
onnxruntime-gpu==1.16.0;Then run
pip install -r requirements.txt


